Follow Me On Social Media!
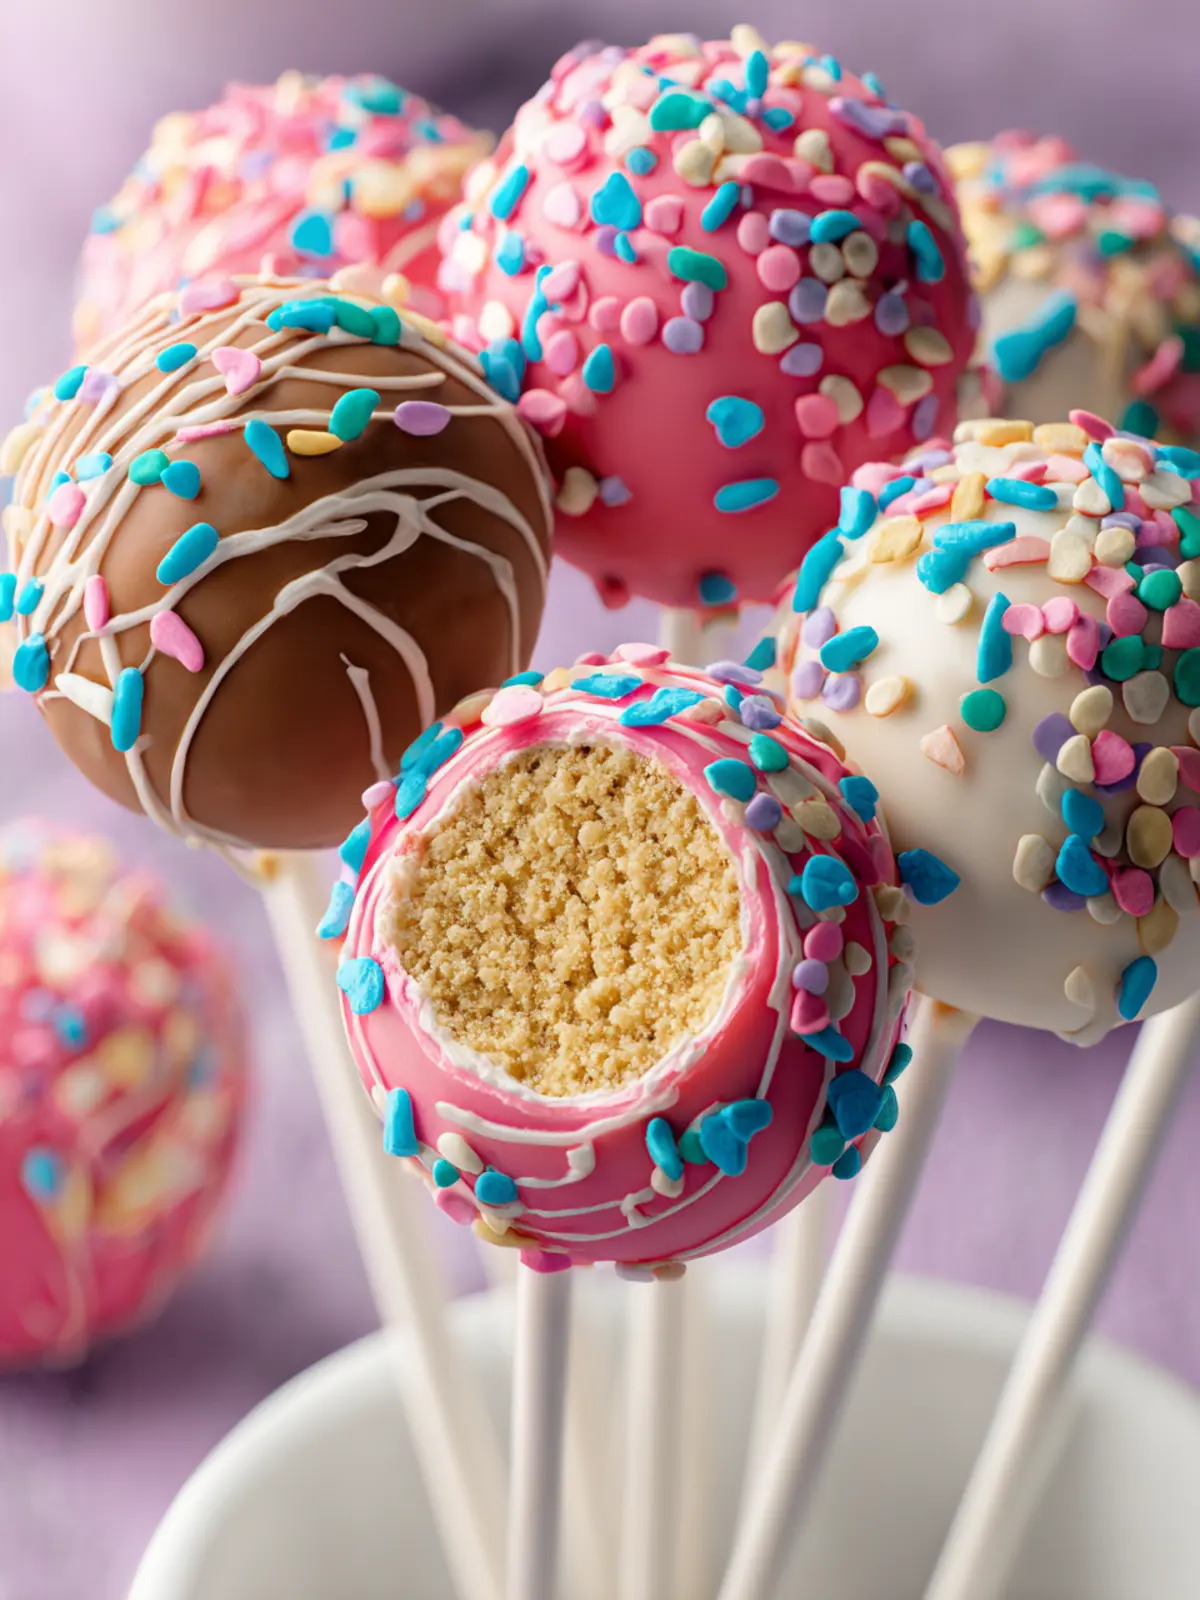
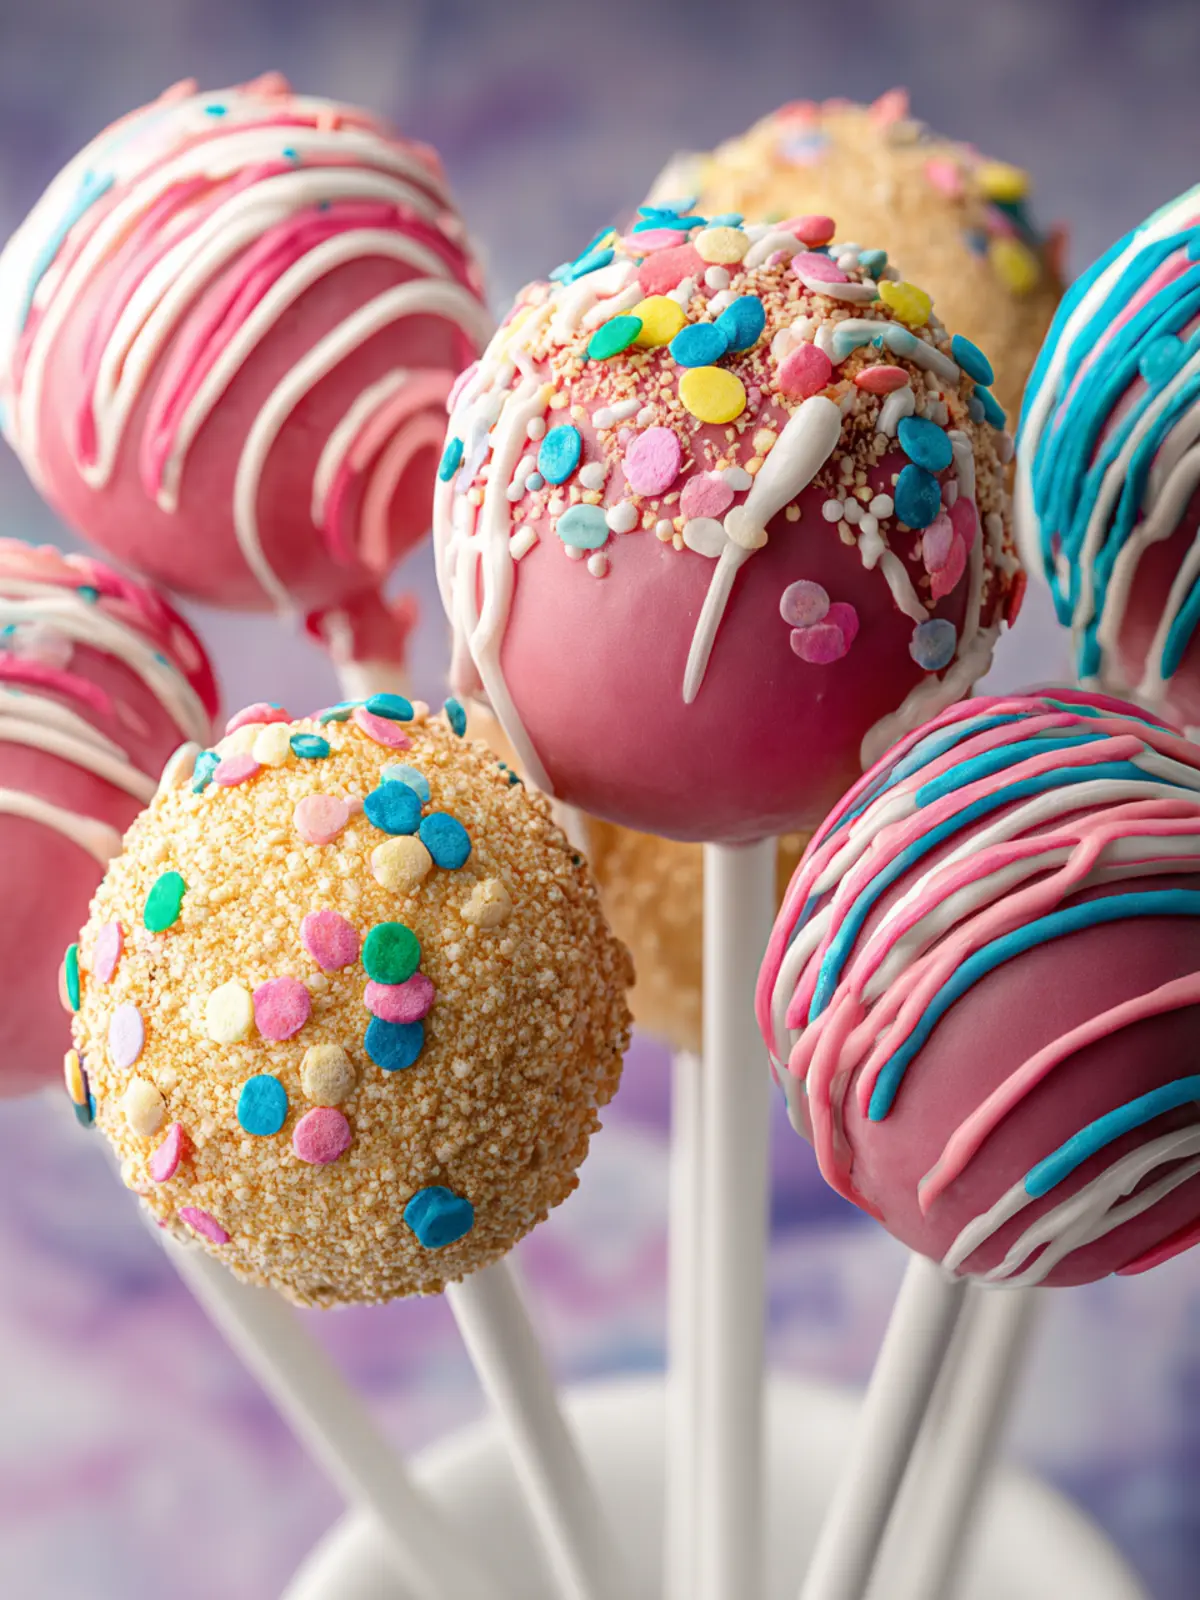
How to Make Cake Pops: Easy, Irresistibly Fun Treats!
Introduction to Cake Pops
Exploring how to make cake pops is like unwrapping a small, delightful gift. These little treats may appear simple, but each bite reveals a burst of nostalgia, fun, and celebration, often evoking memories of childhood parties or cozy gatherings with friends. They’ve become a go-to option for birthdays, holidays, and even corporate events, thanks to their versatility and charm.
Cake pops originated as a creative solution for leftover cake, transforming crumbs into something absolutely magical. Imagine a moist, flavorful cake combined with frosting, all coated in your favorite chocolate—what’s not to love? The joy of cake pops lies in their adaptability. You can customize them with various flavors, colors, and toppings to suit any occasion or personal preference. Whether you’re a chocolate lover, a fruity devotee, or someone who can’t resist sprinkles, there’s a cake pop waiting for you.
Making these delectable treats can be a therapeutic process, a way to unwind after a long day. As you roll the cake mixture into balls, dip them into smooth chocolate, and decorate with personalized toppings, there’s a certain satisfaction in watching your creations come to life. Plus, these bite-sized wonders are perfect for sharing! They’re easy to pack for on-the-go snacks, make excellent gifts, and are a hit at any gathering.
Cake pops invite creativity. Picture yourself standing in your kitchen, melting chocolate, and experimenting with colorful frosting and sprinkles. It’s a culinary canvas that appeals to all ages, sparking joy and excitement. Who wouldn’t want to be the one who brings these delightful treats to the table?
As we dive deeper into this article, I’ll guide you through the process—step by step—on how to make cake pops like a pro. Whether you’re new to baking or a seasoned pro looking for a fun project, cake pops are a sweet adventure waiting to be explored. Let’s get started and bring some fun into your kitchen!
Key Ingredients for Cake Pops
Box Cake Mix: For a delightful base, using a 15 oz white cake mix guarantees a light and fluffy texture that’s effortless to handle. I love how the box mixes simplify the baking process, making them perfect for busy professionals who crave homemade treats without the hassle.
Frosting: A ½ cup of frosting, whether store-bought or from scratch, is essential for adding moisture and flavor. This magic ingredient transforms crumbled cake into a fun, dough-like texture. Personally, I lean toward the creamy sweetness of canned white frosting for its simplicity and convenience.
Candy Melts: To achieve that eye-catching finish, use 12 oz of colorful candy melts. These not only enhance the visual appeal but also add a delightful crunch and sweetness, making every bite of your cake pop a festive experience.
Lollipop Sticks: Don’t overlook the importance of lollipop sticks. They elevate cake balls into grab-and-go treats while providing opportunities to unleash your creativity in presentation.
Sprinkles: A touch of sprinkles can easily turn a simple cake pop into an eye-catching delight. Feel free to choose colors that reflect your celebration, adding that extra touch of festive cheer!
Why You’ll Love This Recipe
How to make cake pops is a delightful journey into the world of sweet treats that take you beyond a simple dessert. Imagine hosting a gathering where these little bites of joy steal the spotlight, sparking conversations and smiles around the room. The beauty of cake pops lies not only in their taste but also in their versatility; they can be dressed up or down for any occasion.
A Treat for Every Occasion
These cake pops aren’t just visually stunning; they’re incredibly fun to make! Whether you’re preparing for a birthday party, a holiday celebration, or just a cozy night in, you can customize these colorful confections to fit your theme. Choose vibrant coatings, sprinkle some edible glitter, or even mix in flavors like mint or coffee to surprise your guests.
Perfectly Portion-Controlled
Unlike an entire cake that can be intimidating to slice or share, cake pops offer that perfect portion size. They allow for guilt-free indulgence, letting you enjoy a sweet treat without the pressure of finishing a big slice of cake. Plus, they make excellent gifts!
Memories in Every Bite
One of the best parts of learning how to make cake pops is sharing the experience. Invite friends over for a fun baking session, or involve kids in the decoration process. You’ll find that each pop carries a story, a laugh, and a moment of togetherness, making them not just a delicious snack but a delightful memory as well.
Variations of Cake Pops
When exploring the many delightful varieties of cake pops, it’s fascinating how one simple treat can transform into numerous flavors and designs. Each variation tells a unique story, inviting creativity while satisfying different palates.
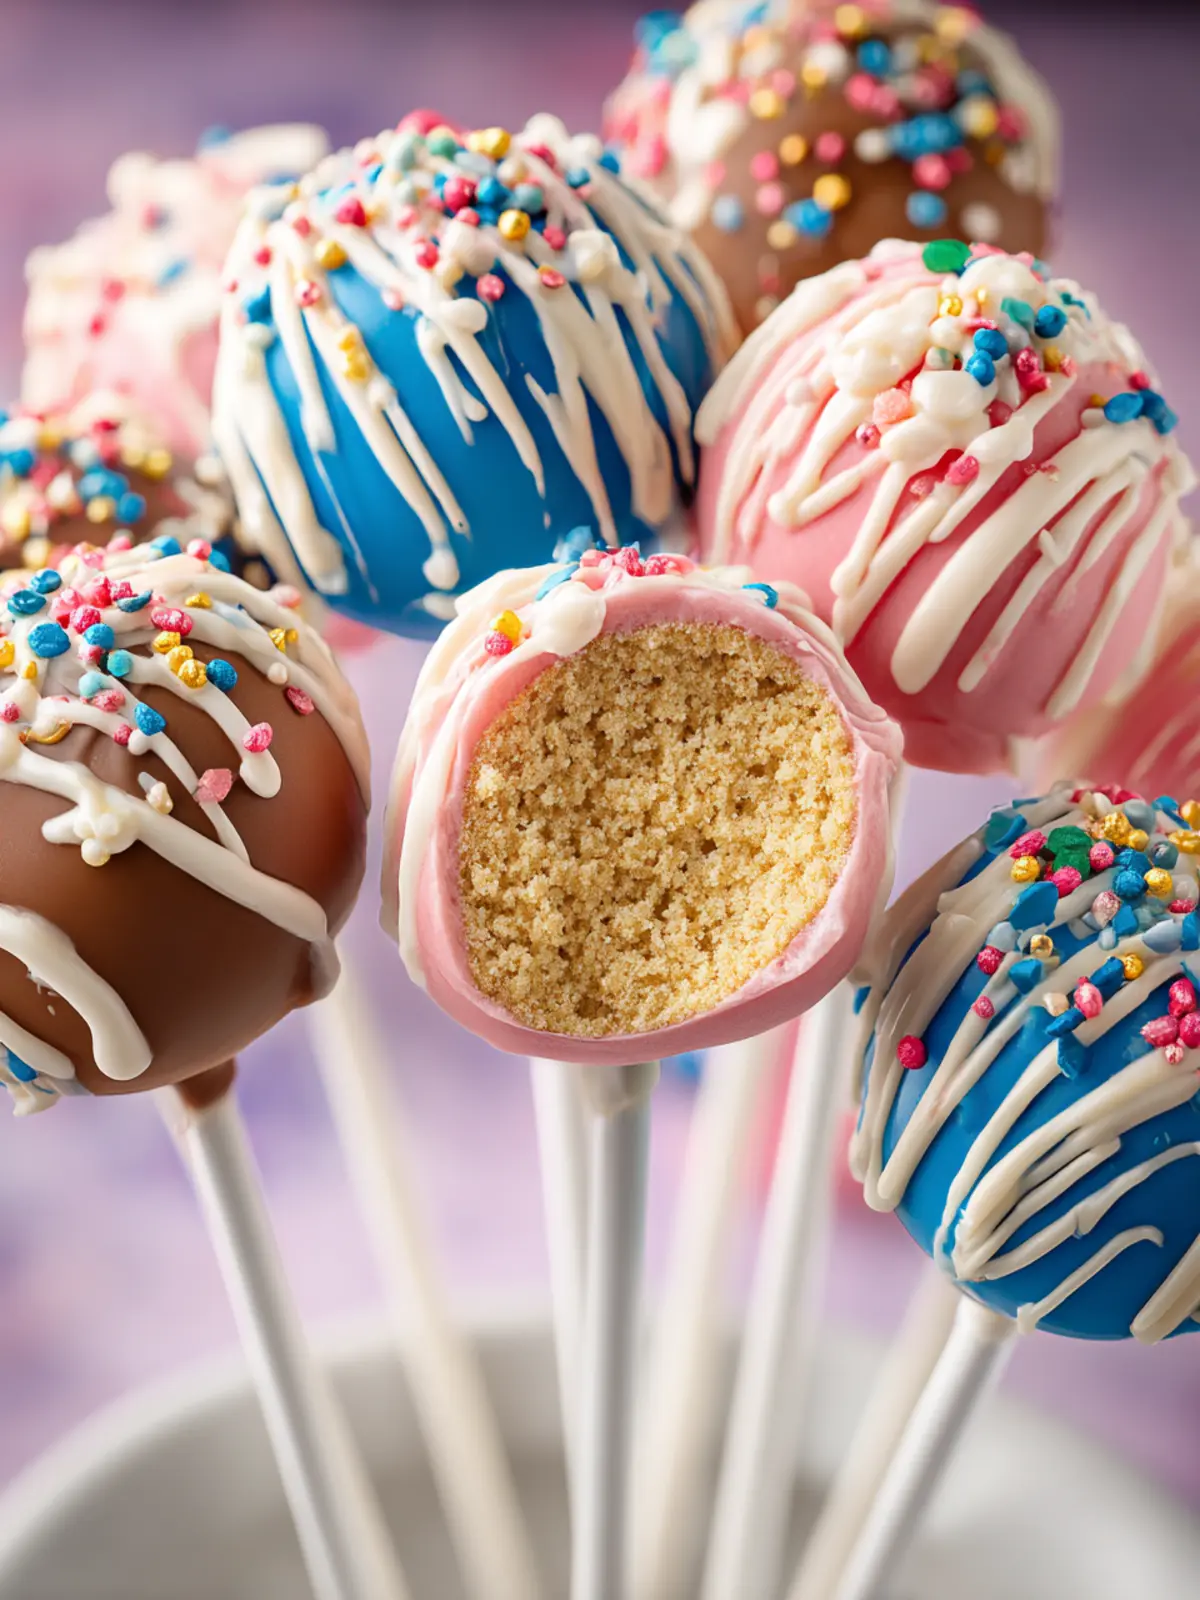
Classic Cake Pops
Traditional cake pops, made from chocolate or vanilla cake, are rolled into perfect round balls and dipped in chocolate. This classic version is delightful on its own but welcomes endless customization.
Flavor Infusions
Why not push the boundaries? Consider adding flavors like matcha, red velvet, or even zesty lemon. Each base brings a unique twist, giving it a refreshing kick.
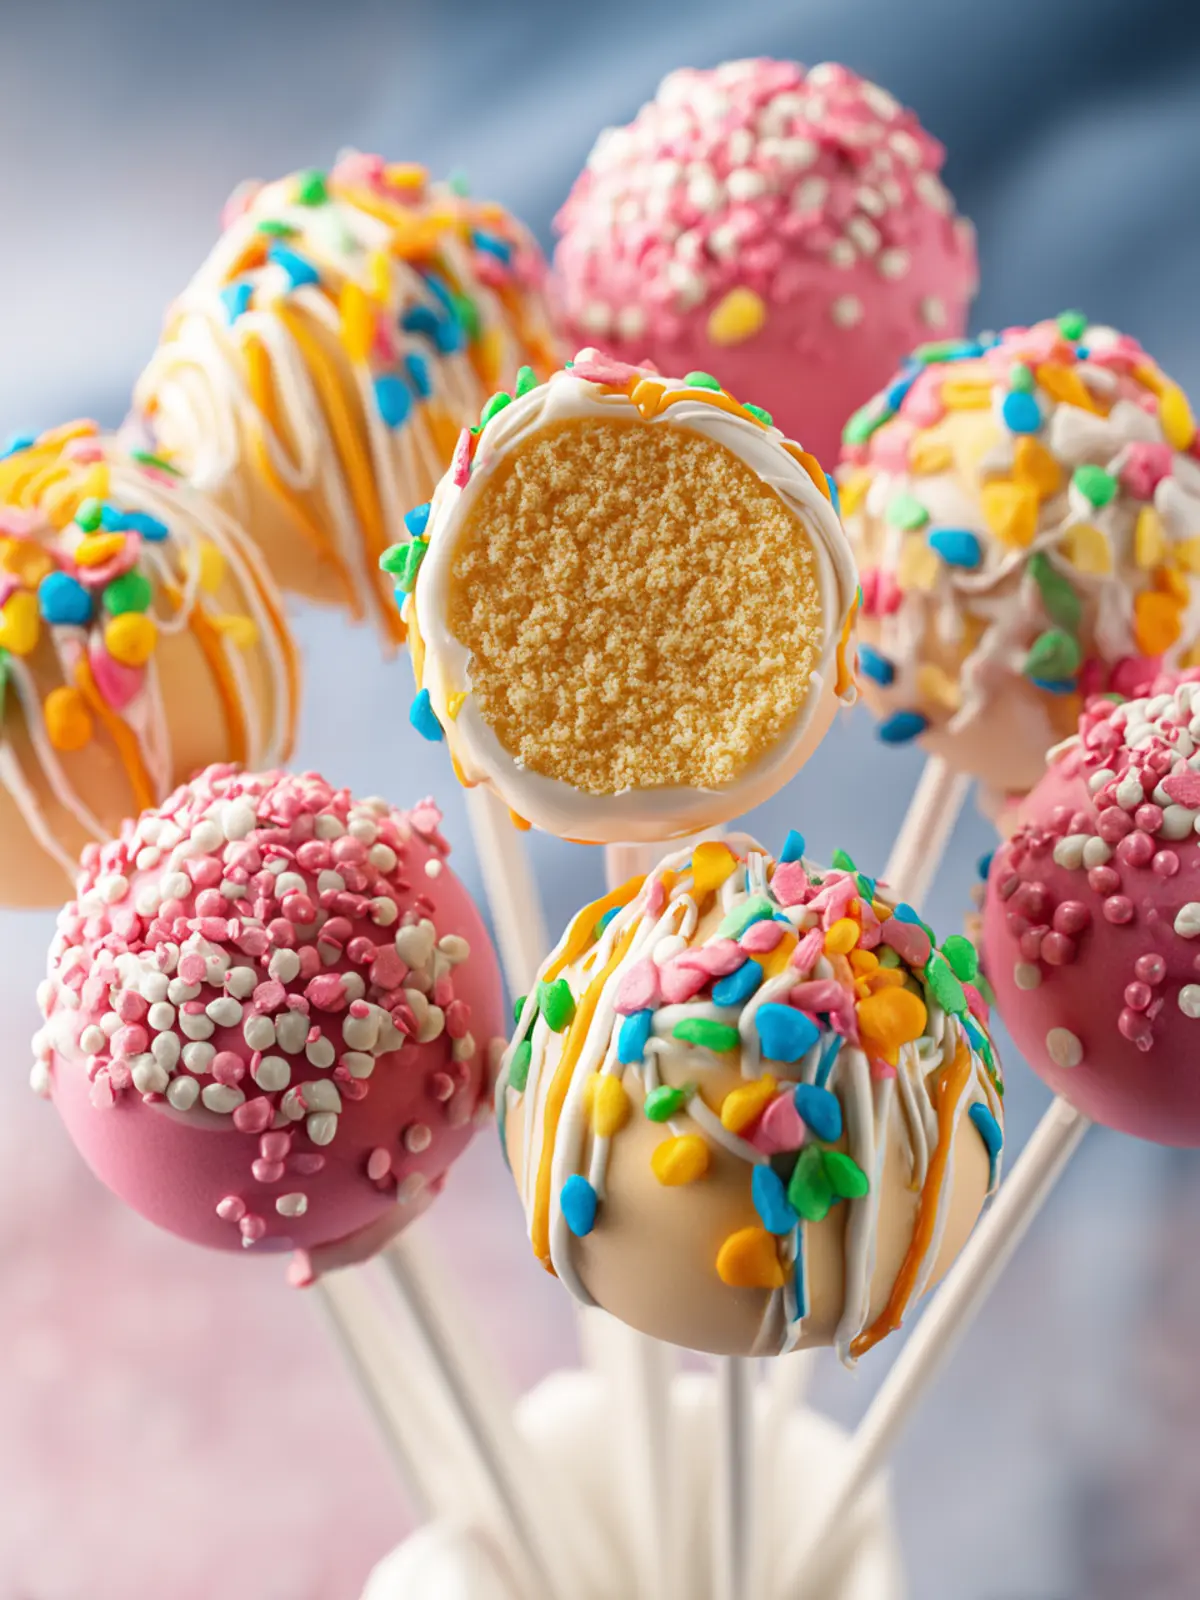
Toppings and Coatings
Transform your cake pops with different coatings! Try colorful sprinkles, crushed nuts, or shredded coconut for texture and a visual feast. You might even drizzle white chocolate over dark-dipped pops for an elegant touch.
Seasonal Inspirations
Think outside the box for seasonal celebrations. Pumpkin spice cake pops are a hit during fall, while peppermint-infused chocolate pops can brighten up any winter gathering.
Themed Occasions
Personalize cake pops for special events. Birthday cake pops can be adorned with vibrant frosting, while themed pops for holidays—like heart-shaped for Valentine’s Day or spooky designs for Halloween—add a fun twist.
Incorporating these variations into your cake pop-making journey is a joy that brings friends and family together. Just imagine the smiles when offering them diverse and creative flavors!
Cooking Tips and Notes for Cake Pops
Creating cake pops from scratch is an adventure filled with sweetness and creativity. Here are some helpful tips to ensure your cake pops are not only delicious but also visually appealing.
Choosing the Right Cake
The foundation of your cake pops lies in the cake itself. Opt for a flavor you love; chocolate and vanilla are classics, but don’t shy away from experimenting with red velvet or lemon! Using a moist cake is essential, so consider adding a touch more liquid or fat to your batter than the recipe suggests for extra richness.
Crumbling with Care
Once your cake is baked and cooled, crumbling it is key. Aim for fine crumbs to ensure a smoother texture in your cake pops; larger chunks can lead to uneven shaping. Mix the crumbled cake with frosting until it’s moist but not overly wet—think the consistency of playdough.
Perfecting the Coating
Coating your cake pops in chocolate or candy melts is where the magic happens. Make sure your coating is melted but not too hot, to prevent it from cracking. For easy dipping, use a fork to lower the pops into the coating, tapping gently to remove excess. And remember, a sprinkle of colorful decorations can make all the difference!
Storage Tips
Store your cake pops in an airtight container at room temperature, or refrigerate if you prefer them chilled. Just be sure to allow them to come back to room temperature before serving—this helps with flavor and texture!
With these tips, you’ll master how to make cake pops that not only taste incredible but also look stunning!
Serving Suggestions for Cake Pops
Creating your delightful cake pops can be a fun culinary adventure, but how you serve them can elevate that experience even further. Imagine a gathering where these treats not only satisfy your sweet tooth but also serve as delightful conversation starters.
Presentation Ideas
-
Colorful Sticks: Choose vibrant lollipop sticks that match the occasion’s theme. This small detail can bring your cake pops to life and make them eye-catching.
-
Creative Displays: Use a block of Styrofoam or a decorative stand to display your cake pops. This not only makes them easily accessible but also adds a festive look to your table.
Pairing Suggestions
Enhance your cake pops by serving them with:
-
Dipping Options: Offer a variety of dipping sauces, like chocolate ganache or a sweet fruit puree. This adds an interactive element to the experience.
-
Beverage Pairings: Serve with a side of cold milk, coffee, or even a fruity cocktail, depending on your audience.
By following these serving suggestions, you’ll not only learn how to make cake pops but also how to turn them into a delightful treat worth sharing.
Time Breakdown for Making Cake Pops
Creating delightful cake pops is a fun and rewarding experience—perfect for parties or just a cozy night in. Here’s a simple time breakdown to guide you through the process efficiently.
Preparation Time
Getting everything ready takes about 20 minutes. This includes gathering your ingredients and equipment, which makes the rest of the process smoother.
Baking Time
Baking the cake usually takes around 30 minutes. Make sure to set a timer, so you can enjoy the sweet aroma wafting through your kitchen.
Cooling Time
Allow your cake to cool for at least 30 minutes. This step is crucial for easy crumbling and molding.
Dipping Time
Dipping the cake pops in chocolate or candy coating will take about 15 minutes. It’s where the magic happens!
Total Time
All in all, you’ll spend about 1 hour and 35 minutes making your lovely cake pops from start to finish. Enjoy the process and the delicious results!
Nutritional Facts for Cake Pops
Understanding the nutritional profile of cake pops can help you make informed choices while indulging in this delightful treat. They’re not just cute; they’re also surprisingly nuanced in their ingredients.
Calories
A single cake pop generally contains about 150 calories. While they may be small, they pack a flavorful punch that can satisfy your sweet cravings without the guilt.
Sugar
When making cake pops, you can expect around 10 grams of sugar per pop. It’s just sweet enough to elevate your mood, without overwhelming your palate.
Fat
Each cake pop typically has around 6 grams of fat. This includes the necessary richness from ingredients like butter or cream cheese, which contributes to their moist texture.
Enjoy the process of learning how to make cake pops while keeping these nutritional insights in mind!
FAQs about Cake Pops
Cake pops are the perfect treat for celebrations, friends’ gatherings, or simply for indulging in something sweet. As someone who loves exploring the art of making cake pops, I’ve gathered some common questions that might help you master this delightful dessert.
How can I prevent my cake pops from cracking?
Cracking can be a common issue when making cake pops. To prevent this, ensure your cake mixture is well moistened. A good trick is to let the cake pops cool completely at room temperature before dipping them in chocolate or candy melts. Additionally, a thicker coat of chocolate can help disguise any cracks that may occur.
What are good storage tips for cake pops?
To keep your cake pops fresh and delicious, store them in an airtight container in the refrigerator if you plan to keep them for more than a few days. If you need to transport them, consider using a cake pop stand or filling a box with Styrofoam to hold them upright.
How can I customize my cake pops for different occasions?
Customization is endless with cake pops! You can experiment with various flavors, colors, and decorations. For birthdays, consider using vibrant sprinkles or themed chocolate coatings. For holidays, red and green could make a festive treat, while a simple drizzle of white chocolate offers elegance for weddings.
Can I freeze cake pops?
Yes, you can definitely freeze cake pops! Place them on a baking sheet to freeze individually before transferring them to an airtight container. This keeps them from sticking together. Just remember to let them thaw in the refrigerator before serving to preserve their texture.
What is the best way to melt candy melts?
Melting candy melts can be easy if done correctly. Use a microwave-safe bowl and heat in 30-second intervals, stirring in between until smooth. Alternatively, a double boiler works great for consistent heat and avoiding burning. Just be sure to add a small amount of vegetable shortening if you want a thinner consistency for dipping.
These tips should make your journey into the world of how to make cake pops enjoyable and successful!
Conclusion on Cake Pops
Creating cake pops is more than just a baking process—it’s an opportunity to express creativity and share joy with loved ones. The versatility of flavors and toppings allows you to personalize each bite, making them perfect for any occasion. From birthdays to casual gatherings, these delightful treats are sure to impress. Remember to follow the recipe closely, ensuring you achieve that perfect balance of moist cake and smooth coating. As you master the art of how to make cake pops, you’ll discover endless possibilities for flavors and designs. So, roll up your sleeves and enjoy the sweet journey ahead!
Print
Cake Pops
- Total Time: 2 hours
- Yield: 24 cake pops 1x
- Diet: Vegetarian
Description
Delicious homemade cake pops made with cake mix, frosting, and candy melts.
Ingredients
Scale
- 1 box (15 oz) cake mix (white cake mix recommended)
- Ingredients listed on the back of the cake mix box (usually eggs, oil, and water)
- 1/2 cup frosting (homemade or store bought)
- 12 oz candy melts (any color)
- 1 pack lollipop sticks
- as desired sprinkles
Instructions
- Preheat the oven to 350ºF. Spray a 9×13 inch pan with nonstick spray. Set aside.
- In a large bowl, whisk together cake mix, water, oil, and eggs until combined as the back of the box instructs. Pour the prepared batter into the pan and bake according to the recommended time on the box.
- Immediately when the cake comes out of the oven, carefully transfer the cake to a large mixing bowl. Add ½ cup frosting and beat with an electric mixer on low speed until the cake and frosting form a dough like texture.
- Use a tablespoon sized scoop to form and roll the dough into balls. It’s okay if the balls aren’t perfectly round right now, we’ll roll again after refrigerating. Place the cake balls on a lined baking sheet and refrigerate for 2 hours.
- Re-roll the balls as needed after they’ve chilled. Keep them in the fridge and melt the candy melts.
- Heat the candy melts in a 2-cup liquid measuring cup in the microwave at 20-second intervals, stirring after each interval until melted and smooth.
- Working in batches of 2 or 3, dip the lollipop stick about ½ inch into the candy melts, then insert it into the center of the cake ball, making sure it only goes about halfway. Dip the cake ball into the coating until fully covered, ensuring the coating extends over the base of the cake ball where it meets the lollipop stick.
- Gently tap the stick against the edge of the measuring cup to allow any excess coating to drip off. Add sprinkles if desired and place the cake pops upright in styrofoam or a box to set.
- Repeat the process with the remaining cake balls, working with only a few at a time and ensuring the cake balls remain very cold during the dipping process.
Notes
- Do NOT freeze the cake balls; the chocolate coating will crack when dipped as the temperature changes.
- Prep Time: 30 minutes
- Cook Time: 30 minutes
- Category: Dessert
- Method: Bake, Chill, Dip
- Cuisine: American
Nutrition
- Serving Size: 1 cake pop
- Calories: 150
- Sugar: 15g
- Sodium: 200mg
- Fat: 6g
- Saturated Fat: 3g
- Unsaturated Fat: 2g
- Trans Fat: 0g
- Carbohydrates: 22g
- Fiber: 0g
- Protein: 2g
- Cholesterol: 30mg